You will learn how to connect an OBD2 scanner, read its codes, and decide what action to take so you can diagnose simple car issues yourself. Plug the scanner into your car’s OBD2 port, run the scanner to read codes, and use those codes to find likely fixes or next steps.
This guide walks step-by-step through every part of the process in plain language. It shows how to prepare the vehicle, navigate the scanner, interpret common codes, and use basic diagnostic tools so you feel confident using the scanner for the first time.
It also covers simple safety tips and how to keep your scanner working well so you can grow your skills over time.
Key Takeaways
- Learn the basic connection and scanning steps to get diagnostic codes.
- Understand how to interpret common codes and choose next steps.
- Follow simple care and safety tips to keep the scanner reliable.
Understanding OBD2 Scanner Basics
The OBD2 scanner reads a car’s computer for error codes, live sensor data, and system status. It helps pinpoint faults quickly and shows what parts or systems need attention.
Types of OBD2 Scanners
Several scanner types fit different needs and budgets.
- Code readers: Show basic trouble codes and clear the check engine light. They are cheap and simple.
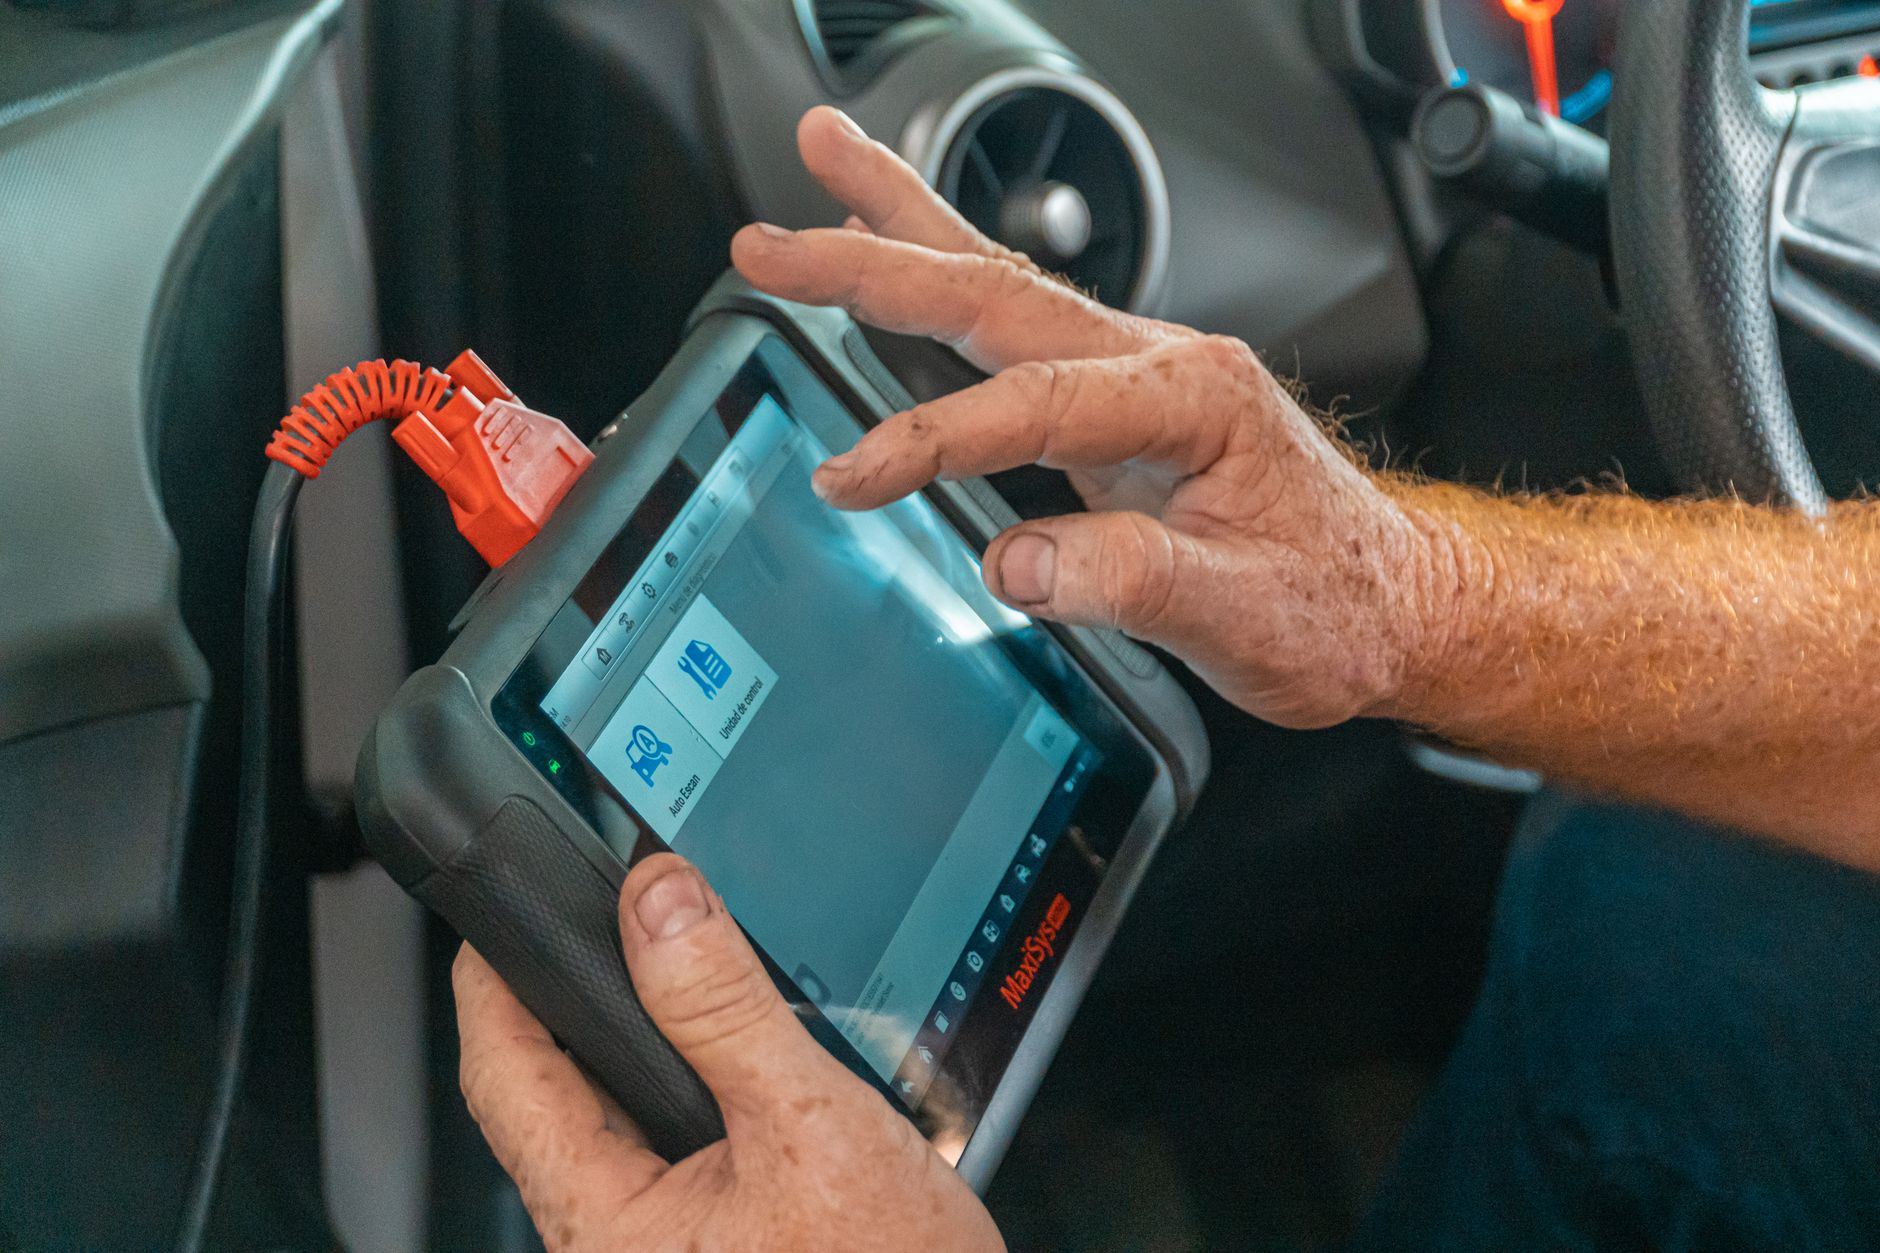
- Handheld scanners: Offer code read/clear, live data, and sometimes freeze-frame. Common brands include Autel and ANCEL.
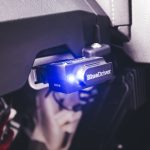
- Bluetooth/Wi‑Fi adapters: Plug into the port and pair with a phone app. They give easy access to live data and enhanced diagnostics.
- Professional scan tools: Provide advanced features: bi-directional controls, module coding, and deep system tests. These are expensive and aimed at shops.
Choose based on needed features. For first-time users, a handheld or Bluetooth adapter covers most tasks without high cost.
Common Features and Functions
Most scanners share core functions that matter on the first use.
- Read/clear DTCs (Diagnostic Trouble Codes): Codes point to specific systems or sensors.
- Live data/graphing: Shows sensor values like RPM, coolant temp, and O2 volts in real time.
- Freeze frame: Captures sensor data at the moment a fault set, useful for intermittent problems.
- I/M readiness: Indicates if emissions systems are ready for inspection.
- VIN/ECU info: Reads vehicle ID and module details on many models.
Basic steps: plug into the OBD2 port, power the scanner, read codes, look up code meanings, and clear codes if repairs are complete.
How OBD2 Systems Work
OBD2 uses a standard data link and protocols to communicate with vehicle modules.
The car’s engine control module (ECM) monitors sensors and sets Diagnostic Trouble Codes when values go out of range. The scanner requests data over the OBD2 port using protocols like CAN, ISO9141, or KWP2000, depending on the vehicle.
Data types include stored DTCs, pending codes, live sensor values, and readiness monitors. Reading codes helps identify which sensor or circuit triggered the fault, but it does not always show the exact failed part. Technicians use live data and tests to confirm the cause before replacing components.
Preparing Your Vehicle and Scanner
Make sure the car is parked, the ignition key is available, and the scanner and any adapters are on hand. Confirm the vehicle’s model year and the scanner’s compatibility before connecting.
Locating the OBD2 Port
The OBD2 port sits under the dash on the driver’s side in most cars. It is a 16-pin trapezoid connector, usually black, and often near the steering column or just above the footwell.
If not visible, check behind a removable trim panel, under the center console, or near the fuse box. Small cars and trucks sometimes place the port in the passenger footwell or under the glove box.
Use the vehicle manual or a quick internet search for “[make] [model] OBD2 port location” if needed. Do not force the scanner into any connector that looks different; the 16-pin plug will only fit the correct port.
Power Requirements and Compatibility
Most OBD2 scanners draw power from the vehicle’s OBD2 port and need the ignition in ACC or ON. For simple code reads, set the key to ACC; for live data or module programming, set to ON or run the engine as directed by the scanner instructions.
Confirm the scanner supports the vehicle’s protocol (e.g., CAN, ISO, KWP). Check the scanner specs against the vehicle’s model year—OBD2 is standard on U.S. cars from 1996 onward, but some imports or older models may differ.
If the scanner uses a battery or external power, ensure it’s charged. For Bluetooth or Wi‑Fi adapters, make sure the user’s phone or tablet meets the app’s OS and Bluetooth/Wi‑Fi requirements.
Safety Precautions
Work on a flat, stable surface with the parking brake set. Turn off accessories like the radio and air conditioning to avoid electrical noise or low-voltage conditions during diagnostics.
Avoid touching exposed pins on the OBD2 connector. Static or short circuits can damage vehicle electronics. If the scanner requires the engine to run, keep clear of moving belts, fans, and hot engine parts.
If a repair or module programming is planned, disconnect other aftermarket devices and follow the vehicle maker’s procedures. When in doubt, consult the vehicle manual or a professional to prevent electrical or mechanical damage.
Connecting the Scanner Properly
This section shows where to plug the tool, how to pair wireless models, and how to fix common hookup problems. It gives exact steps, button presses, and checks to get a stable connection.
Steps for Wired Connection
Locate the OBD2 port under the dashboard near the steering column. It usually sits within 12 inches of the driver’s left knee. Turn the vehicle off before plugging in to avoid errors.
Match the 16-pin connector on the scanner to the port orientation and push firmly until it clicks. Turn the car to the accessory position or start the engine if the scanner instructions require power. Wait for the scanner to boot and display “connected” or a similar message.
Use the scanner menu to select the vehicle protocol or let it auto-detect if available. Read trouble codes, then clear only if the repair is done. If the screen stays blank, confirm the ignition is on and check the fuse for the OBD port.
Wireless Connectivity Options
Identify the device type: Bluetooth dongles pair with phones, while Wi‑Fi adapters create a private network. The scanner or adapter will list a device name like “OBDII” or the brand model.
On a phone or tablet, enable Bluetooth or Wi‑Fi and find the adapter name. Pair using the default PIN (often 1234 or 0000) for Bluetooth. For Wi‑Fi adapters, connect to the adapter’s SSID in phone settings, then open the app and set the IP/port if the app asks (typically 192.168.0.10:35000).
Open the scanner app and choose the correct connection type (Bluetooth/Wi‑Fi). Grant the app location permission if the phone requires it for Bluetooth. If the app shows “no vehicle data,” verify the ignition is in accessory or run mode and that the adapter’s LED indicates a live connection.
Troubleshooting Connection Issues
If the wired scanner won’t power, check the vehicle’s OBD fuse and the scanner’s cable for breaks. Test the port with a different scanner to isolate the problem. Inspect pins for bent or pushed-in pins before forcing a connection.
For wireless problems, restart the phone, the adapter, and the vehicle. Re-pair Bluetooth devices by removing the adapter from paired devices and repeating the pairing steps. For Wi‑Fi adapters, forget the network and reconnect, then reopen the app.
If the app reports protocol errors, switch from auto-detect to the vehicle’s specific protocol in the app settings. Update the app and scanner firmware when available. When all else fails, consult the adapter’s LED codes or the manual for status lights and error meanings.
Navigating the Scanner Interface
The scanner shows menus, live data, and error codes. The user should learn where to find vehicle info, diagnostics, and settings quickly.
Understanding Menu Options
Users will usually see a main menu with options like “Read Codes,” “Erase Codes,” “Live Data,” and “Vehicle Info.” Read Codes pulls Diagnostic Trouble Codes (DTCs) from the car’s computer. Erase Codes clears codes and turns off the check engine light after repairs. Live Data displays engine RPM, coolant temp, O2 sensor readings, and more in real time. Vehicle Info shows VIN, ECU name, and readiness monitors.
Some scanners include advanced options: freeze frame data, component tests, or readiness status. He or she should select the simplest option first — Read Codes — to identify problems. If the scanner auto-detects the vehicle, it saves time; if not, the user must pick the vehicle make, model year, and protocol.
Use the device buttons or touchscreen to move between items. Look for a back or home button to avoid getting stuck in submenus.
Language and Display Settings
Most scanners let the user change language, units (°C/°F), and screen brightness. Language settings usually appear under “Setup” or “System.” They should pick a language they read fluently to avoid misreading codes or instructions.
Display options affect how data appears. Adjust screen contrast for daylight or night use. Some devices offer graph or list views for live data; choose graph view to spot trends, list view to read exact values. Units and time format can alter diagnostic results, so set units that match the vehicle’s specs.
If the device supports firmware updates, update before changing display settings to ensure menus match the latest software.
Retrieving and Interpreting Codes
The scanner connects to the vehicle, reads stored and pending codes, and shows freeze-frame or live data when available. The reader must note the exact code characters, any freeze-frame values, and whether codes are current or pending before taking action.
Reading Trouble Codes
They plug the OBD2 scanner into the car’s port, usually under the dash near the driver. They turn the ignition to ON (engine off) or start the engine, depending on the tool’s instructions, and let the scanner establish communication.
The display will list one or more codes like P0302 or C1234. Each code has a letter and four digits; write them down exactly. The scanner may also show “pending” or “confirmed” status and a freeze-frame snapshot of engine parameters at the fault moment. If live data is available, they should record values such as RPM, engine load, and oxygen sensor readings while the code is active.
If the device returns multiple codes, address them in order of likely cause. Some codes are secondary — clearing a primary fault can remove dependent codes. They should not clear codes before diagnosing because the freeze-frame data could be lost.
Understanding Code Definitions
They interpret a code by breaking it into parts: the first character (P/B/C/U) shows the system (Powertrain, Body, Chassis, Network). The next digit (0 or 1) tells if it’s generic (0) or manufacturer-specific (1). The final three digits identify the exact fault.
Use a trusted code reference or the scanner’s built-in definition to get the plain-language description. For example, P0171 means “System Too Lean (Bank 1).” Read the freeze-frame values and live data to confirm the condition rather than relying on the description alone.
Common causes vary: lean codes often point to vacuum leaks, MAF sensor issues, or fuel delivery problems. Manufacturer-specific codes may need factory service info. They should research the specific code for the vehicle make, model, and year before replacing parts.
Clearing Stored Codes
Most scanners offer a “Clear Codes” or “Erase” function. They should record all codes and any freeze-frame data first because clearing deletes that stored information.
To clear, they select the erase option while the ignition is ON. The check engine light will usually go out if there are no active faults. After clearing, the vehicle’s computer may need a driving cycle to re-test systems; some lights will return if the fault persists.
If a code returns immediately, the underlying issue remains. Intermittent codes may not come back right away; they should drive the car and monitor live data or re-scan after several trips. Clearing codes does not fix a problem — it only removes stored trouble records.
Performing Basic Diagnostic Functions
This section shows how to read live engine values, check if emissions monitors are set, and view freeze frame details. It focuses on the exact steps and key values to watch on most OBD2 scanners.
Live Data Monitoring
Live data displays real-time sensor values while the engine runs. The user should connect the scanner, start the engine, then select the Live Data or Data Stream menu. Common parameters to watch are engine RPM, vehicle speed, coolant temperature, short/long term fuel trim, and O2 sensor voltages.
Scan at idle and under light throttle to compare behavior. Look for steady RPM, normal coolant temp (usually 175–220°F / 80–105°C), and fuel trims within ±10%. Erratic O2 voltages, large fuel trim swings, or misfiring RPM drops indicate problems. Many scanners let users record and graph data—use that to capture a failing condition.
If values look wrong, note the PID name, value, and the time it occurred. This detail helps when researching fixes or talking to a mechanic.
Emissions Readiness Check
Emissions readiness shows which onboard monitors completed their self-tests. With the key on and engine off or running per scanner prompts, open the Readiness or I/M Readiness menu. The scanner lists monitors such as misfire, fuel system, catalyst, EVAP, and oxygen sensors.
A status of “Ready” or “Complete” means the ECU finished testing that system. “Not Ready” or “Incomplete” means testing did not finish since the last battery disconnect or code clear. Two common reasons for a “Not Ready” result are a recent battery replacement or cleared codes. For vehicles subject to inspection, most regions require all or specific monitors to be ready.
If too many monitors are not ready, perform normal driving conditions and a few drive cycles: highway cruising and city stop-and-go. Re-scan after the drive cycles to confirm readiness status changed.
Freeze Frame Data
Freeze frame captures sensor values at the moment a fault code set. The scanner shows a timestamped snapshot including RPM, speed, coolant temp, fuel trims, and throttle position. The user should read the freeze frame immediately after retrieving the DTC list.
Use the freeze frame to see the exact conditions when the fault occurred. For example, a P0302 (cylinder 2 misfire) with high RPM and lean fuel trim points to different causes than the same code at idle with rich trims. Record or photo the freeze frame data for reference.
Comparing multiple freeze frames for the same code helps track whether a problem is intermittent or consistent. This makes diagnosis faster and reduces guesswork when replacing parts.
Best Practices for First-Time Users
Start by checking what the scanner can and cannot do, and know when a shop or mechanic is required. Keep safety, correct connection, and accurate code interpretation as top priorities.
Limitations of Basic Scanners
Basic OBD2 scanners read generic diagnostic trouble codes (P0xxx) and display live data like RPM, coolant temp, and vehicle speed. They usually cannot read manufacturer-specific codes (P1xxx), perform active tests, or program modules. Expect limited freeze-frame data and no guided repair steps.
Battery voltage and connector fit matter. A weak battery can give false readings, and some older vehicles use non-standard pins that a cheap adapter won’t handle. Basic tools may not clear permanent codes required by some emissions systems.
To get more from diagnostics, pair a basic scanner with online code databases or a repair manual. If the scanner lacks live data or graphing, log readings manually and compare before and after repairs.
When to Seek Professional Help
If the scanner shows codes for brakes, airbags, or transmission, the user should stop and consult a professional. Safety systems and drivability issues can require special tools and calibrated replacements. A shop can run manufacturer-level diagnostics and confirm if a code is false or intermittent.
When codes repeat after simple fixes (like tightening a gas cap) or when the vehicle runs poorly despite no clear code, a technician can perform deeper tests: pressure tests, oscilloscope checks, and guided module programming. Complex electrical problems and confirmed permanent codes also need a pro.
If emissions testing, warranty concerns, or recalls are involved, a dealer or certified shop can access OEM software and official repair procedures that a basic scanner cannot provide.
Maintaining Your Scanner
They should store the scanner in a dry, cool place when not in use. Heat and moisture can damage the electronics and shorten the device’s lifespan.
They must keep the connector and pins clean. Use a soft brush or compressed air to remove dust, and avoid touching pins with bare hands to prevent corrosion.
They should update the scanner’s software or app regularly. Manufacturers release updates that add vehicle coverage and fix bugs; installing them keeps the tool reliable.
They need to inspect the cable and OBD plug before each use. Look for frayed wires, bent pins, or loose connectors and replace damaged parts to avoid communication errors.
They should follow battery care rules for wireless or handheld units. Remove batteries for long storage, use the correct type, and charge rechargeable units per the manual to preserve battery life.
Suggested quick checklist:
- Clean connector pins monthly
- Check cable and housing for damage before each scan
- Install firmware/app updates when available
- Store in original case or padded bag
- Replace batteries or recharge as recommended
They must keep the user manual and update notes. These documents help troubleshoot, show compatible vehicles, and explain error messages clearly.
Expanding Your Diagnostic Skills
He will learn to read live sensor data, perform bi-directional tests, and use freeze frame and PID data to pinpoint faults. She will also grow skills by practicing on real vehicles, using manuals, and joining forums for targeted help.
Advanced Features in Higher-End Models
Higher-end OBD2 tools add functions beyond basic code reading. They offer bi-directional controls that let the user activate components like fuel pumps, fans, or injectors to test operation. This helps confirm whether a part fails mechanically or only reports a fault.
These scanners show live data streams with adjustable PID lists and graphing. Users can compare sensor readings (for example, oxygen sensor voltage, MAF airflow, or coolant temperature) while the engine runs. That makes it easier to spot slow changes, spikes, or mismatched values.
Some models include module coding, ECU reflashing, and service resets (like oil or ABS light resets). Technicians should check vehicle compatibility and follow wiring and safety steps when using advanced features. Using these functions without experience can cause settings errors or waste time.
Learning Through Practice and Resources
Hands-on practice on vehicles with known issues speeds learning. He can start by scanning a car with a stored code, clearing it, and then driving to see if it returns. This cycle teaches code context and verification.
Use repair manuals, factory service guides, and flowcharts to translate codes into tests. Online code databases and manufacturer-specific forums provide real-world fixes and step-by-step procedures. Video walk-throughs show connector locations and test setups.
Keep a simple checklist: read codes, record freeze frame, log live data, perform targeted tests, and retest after fixes. They should document results so patterns emerge over time and repeatable diagnosis becomes faster and more accurate.
FAQs
| Question | Answer |
|---|---|
| What is an OBD2 scanner? | An OBD2 scanner is a device that reads diagnostic trouble codes from a vehicle’s computer. It helps identify problems quickly. |
| Will a scanner fix the car? | No. A scanner gives codes and live data. A mechanic or repair is still needed to fix the issue. |
| Can anyone use one? | Yes. Basic scanners are made for beginners. More advanced tools need some technical knowledge. |
| Which cars work with OBD2? | Most cars and light trucks made for sale in the U.S. from 1996 onward use OBD2. Other regions have similar standards and years. |
| How accurate are the codes? | Codes point to systems and sensors, not always the exact part. They guide troubleshooting but do not guarantee a single fix. |
| Is it safe to clear codes? | Clearing codes resets the check engine light but may hide a real problem. It can be safe after a confirmed repair or test drive. |
They should read codes, note the code number, and look up the code meaning before taking action.
If live data looks odd, they should record values and consult repair resources.
When in doubt, a professional mechanic can verify results and prevent costly mistakes.
Conclusion
Using an OBD2 scanner gives a person direct access to their car’s health. It helps them read trouble codes, clear minor faults, and decide when to seek a mechanic.
They can save time and money by checking codes before scheduling repairs. The scanner also helps track intermittent problems that only show up while driving.
Start with the basics: connect the scanner, read codes, and look up meanings. Then use live data and freeze-frame info to confirm issues.
If a code looks complex or safety-related, they should get professional help. Simple fixes and resets they can often handle themselves.
A small checklist helps keep steps clear:
- Plug in at the OBD2 port.
- Turn ignition on without starting the engine.
- Read and record codes.
- Research codes and note live data if needed.
Regular use of a scanner can keep a vehicle running more reliably. With practice, anyone can become confident using this tool.