You can clear a check engine light quickly with an OBD2 scanner by plugging it into your car, reading the trouble codes, fixing the underlying issue, and using the scanner’s clear function. If the problem is already fixed, the scanner will erase the codes and turn the light off; if not, the light will likely come back until you repair the fault.
This guide walks you through the scanner steps, explains common codes, and shows when you should avoid just clearing the light without a repair. Follow the simple diagnostic process and you’ll save time and avoid chasing the same warning again.
Key Takeaways
- Use an OBD2 scanner to read codes, then clear them only after addressing the cause.
- A scanner shows which systems triggered the light and helps prioritize repairs.
- If codes return, further troubleshooting or professional help is needed.
Understanding the Check Engine Light
The check engine light signals problems the car’s computer detects in the engine, emissions, or related systems. It can mean anything from a loose gas cap to a failing catalytic converter.
Common Causes of Illumination
A loose or missing gas cap often triggers the light. It allows fuel vapor to escape, changing emissions pressure and setting a diagnostic trouble code (DTC).
Faulty oxygen sensors or mass airflow sensors cause poor fuel-air mix and raise emissions. These sensors send wrong data to the engine control unit (ECU), which then flags a fault.
Ignition system issues—like bad spark plugs, coils, or wiring—lead to misfires. Misfires show up as specific DTCs and can damage the catalytic converter if ignored.
Exhaust and emissions parts such as the catalytic converter or EGR valve can fail and set codes. Modern cars also flag problems in turbo systems, EV components, and valve timing systems.
Implications for Vehicle Safety
A steady light often means reduced efficiency or higher emissions but not an immediate safety risk. The car may run rougher, use more fuel, or fail emissions testing, though it usually remains drivable.
A flashing or rapidly blinking light indicates active misfires or severe engine problems. This increases the risk of engine damage and loss of power, which can create unsafe driving conditions.
Certain flagged systems affect drivability directly—like throttle control, transmission, or braking-related sensors. Those faults can reduce acceleration, cause limp mode, or alter braking behavior.
Drivers should note symptom changes: stalling, loss of power, strange noises, or smells. These signs raise the chance the problem will affect safety before a scan can be done.
When Immediate Action Is Required
Take immediate action if the light is flashing. That signals ongoing misfires or conditions that can overheat or harm the catalytic converter. Stop driving and tow the vehicle if it shows strong vibrations or loss of power.
If the vehicle emits smoke, burning smells, or overheating, pull over safely and turn off the engine. Those signs point to serious failures that need professional repair right away.
If the light is steady but performance drops sharply, avoid highway speeds and get a diagnostic scan. Many auto shops or OBD2 tools can read codes and tell whether the issue requires urgent repair.
OBD2 Scanner Basics
An OBD2 scanner reads diagnostic trouble codes, shows live sensor data, and can erase stored codes. Knowing the main scanner types, which cars they work with, and the essential features helps choose the right tool.
Types of OBD2 Scanners
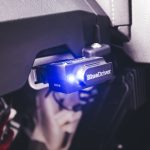
There are three main types: basic code readers, handheld scanners, and Bluetooth/Wi‑Fi adapters.
- Basic code readers show stored and pending trouble codes and often cost under $50. They are simple and good for clearing a check engine light and viewing basic codes.
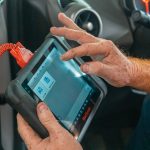
- Handheld scanners (mid‑range) add live data, freeze frame, and code definitions. They usually include a small screen and buttons and cost $50–$300.
- Advanced diagnostic tools (professional) offer advanced bi‑directional tests, ABS/SRS coverage, and manufacturer‑specific codes. These tools are pricier and aimed at mechanics.
- Bluetooth/Wi‑Fi adapters pair with a phone app. They are compact and can display graphs, DTC definitions, and emissions readiness, but app quality varies.
Compatibility with Vehicles
Most OBD2 scanners work on cars and light trucks sold in the U.S. from 1996 onward.
- For European and Asian markets, OBD2 compliance often starts in the late 1990s to early 2000s; always check the vehicle’s model year.
- Confirm the scanner supports the vehicle’s protocol (e.g., ISO 9141, KWP2000, CAN). Many scanners list supported protocols or vehicle makes.
- For manufacturer‑specific systems (ABS, airbag, transmission), verify the scanner lists coverage for that brand and model year.
- If the vehicle is a hybrid, diesel, or older classic, confirm compatibility before buying to avoid limited functionality.
Key Features to Consider
Choose features based on how the scanner will get used.
- Code reading and clearing: Must‑have for resetting the check engine light.
- Live data and freeze frame: Useful to spot intermittent faults and see sensor values in real time.
- Readiness monitors and emissions: Needed for passing smog checks; shows if systems are complete.
- Manufacturer coverage and bi‑directional control: Important for advanced repairs or active tests.
- Display, updates, and app quality: A clear screen or a well‑designed app makes data easier to read. Firmware updates keep the tool current.
- Power and connector type: Most draw power from the vehicle OBD2 port, but battery life matters for wireless adapters.
- Price and warranty: Balance cost with needed features and look for a reasonable warranty or support.
Step-by-Step Diagnostic Process
This section shows how to plug in the scanner, read the exact trouble codes, and record the results for repair or clearing. It focuses on the connectors, the code text and numbers, and what to write down.
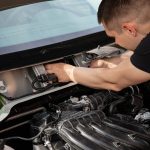
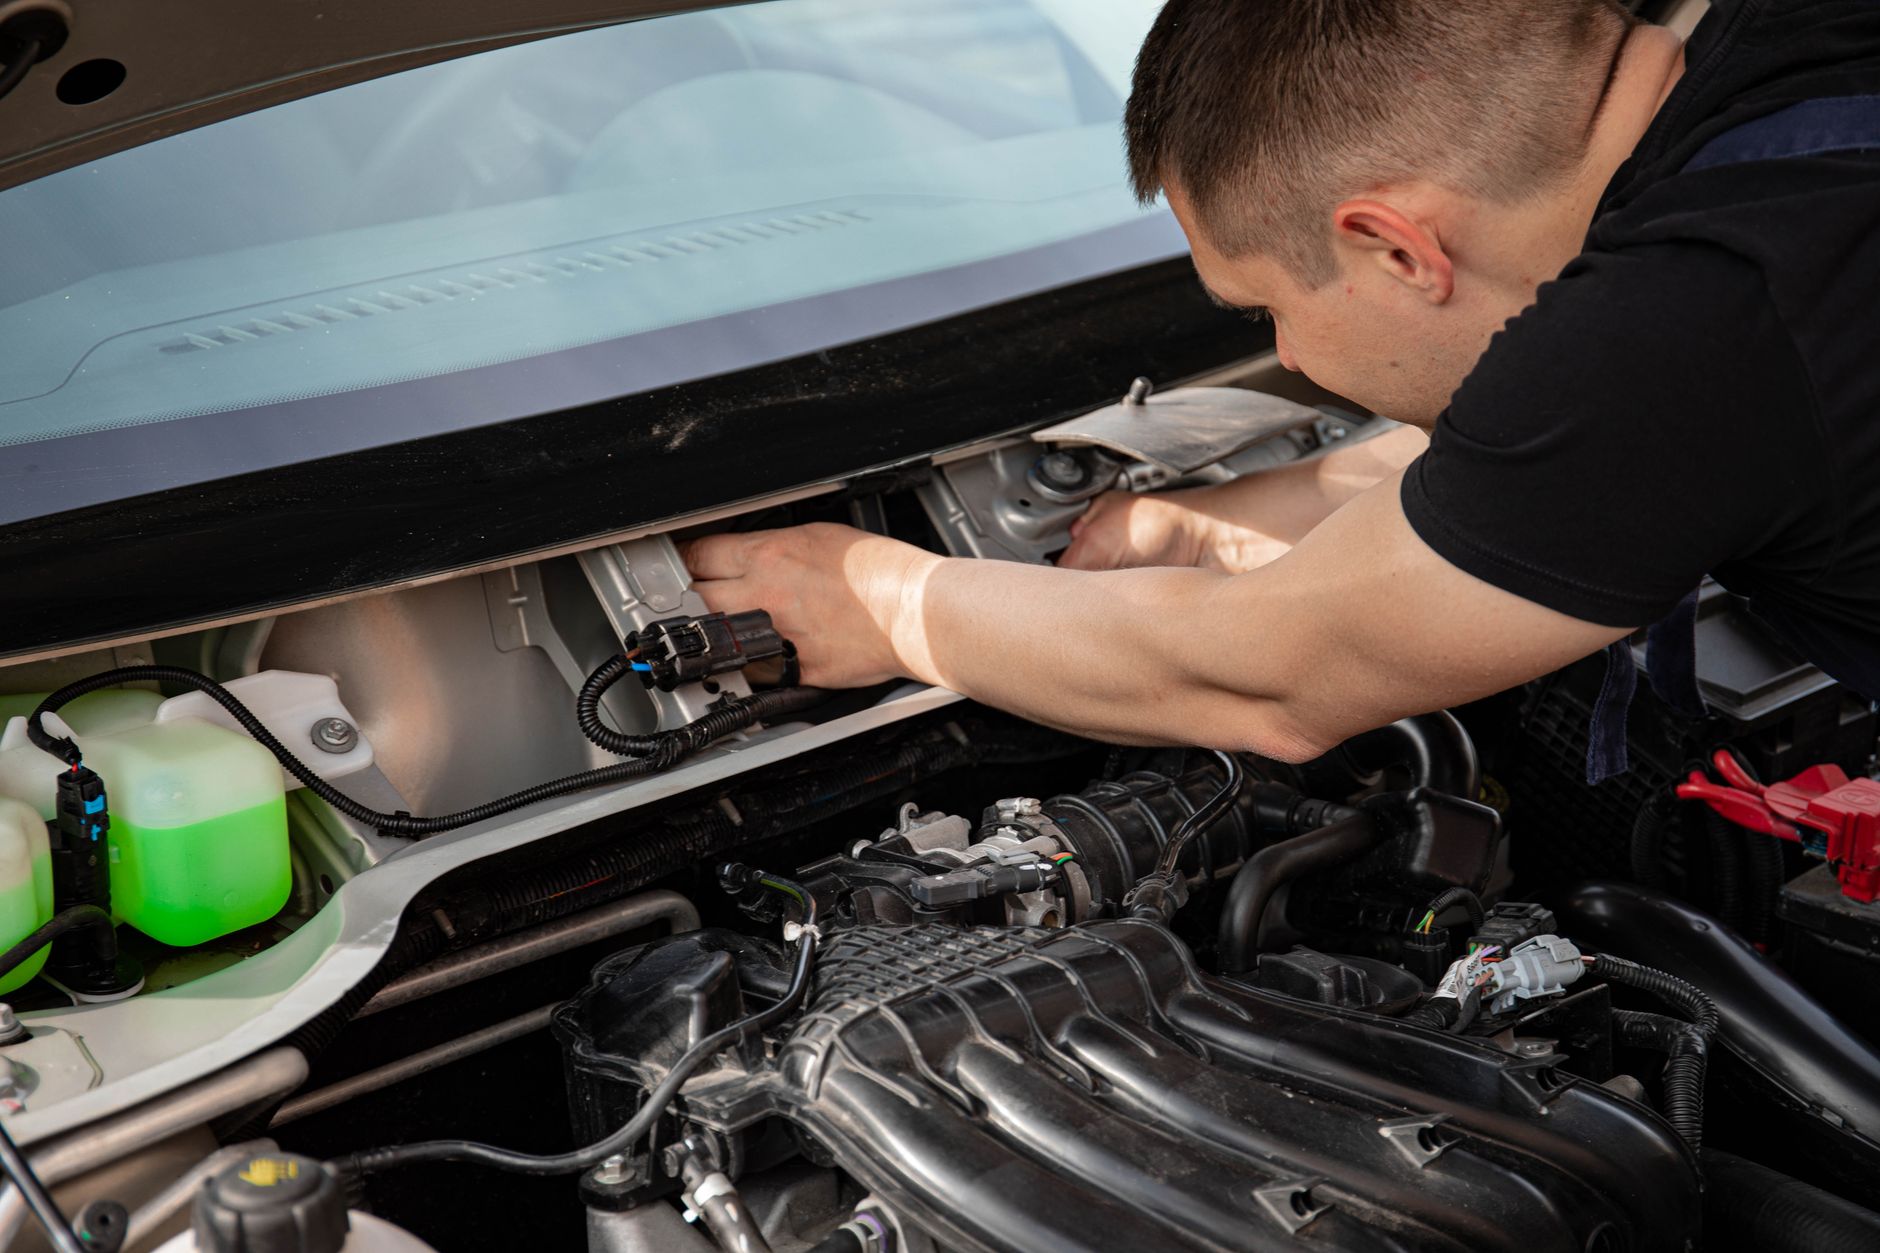
Connecting the OBD2 Scanner
They should park the car on level ground and turn the ignition to the ON position without starting the engine. The OBD2 port usually sits under the dash on the driver’s side; they should look near the steering column or fuse box.
Before plugging in, they should check the scanner’s power light and cable for damage. Insert the connector firmly into the port until it clicks. A loose connection can cause communication errors.
If the scanner fails to power, they should verify vehicle battery voltage and the scanner battery (if it uses one). For wireless scanners, they should enable Bluetooth or Wi‑Fi on their phone and pair the device following the scanner app’s prompts.
Reading and Interpreting Trouble Codes
They should follow the scanner or app prompts to start a vehicle communication session. Choose “Read Codes” or “Scan” so the tool requests stored and pending codes from the car’s ECU. The scanner will display codes in the format P0123 (letter + four digits).
They must note whether codes are “stored,” “pending,” or “historical.” Stored means the ECU confirmed the fault. Pending means the ECU detected a fault once but needs more cycles to confirm. A flashing MIL means immediate attention is required.
Use the scanner’s brief code description to get a starting point, but cross‑check code definitions in the vehicle service manual or a trusted database before making repairs. Generic P‑codes have standard meanings; manufacturer‑specific codes need the OEM reference.
Recording Code Information
They should write each code exactly as shown, including the letter and all four digits. Record the scanner’s short description, the code status (stored/pending), and the date and vehicle mileage. A simple table works well:
| Code | Short Description | Status | Date | Mileage |
|---|
Photograph the scanner screen if possible. Photos preserve the exact wording and help a mechanic later.
Finally, they should keep a short note about recent symptoms (engine run behavior, noises, or smells) and any conditions when the light came on. That context often speeds diagnosis and avoids misdirected repairs.
Clearing Fault Codes Safely
This section explains the steps to prepare the vehicle, how to use an OBD2 scanner to clear codes, and how to confirm the check engine light stays off after clearing.
Preparing the Vehicle
They should park on level ground, set the parking brake, and turn off the engine before plugging in the scanner. The vehicle’s ignition must be in the “ON” position (engine off or running as the scanner instructions require) so the scanner can communicate with the ECU.
They should locate the OBD2 port—usually under the dash near the steering column—and inspect it for damage or dirt. If the port or connector looks corroded, clean it gently with electrical contact cleaner and a soft brush. They should also note current trouble codes and freeze-frame data by recording or printing them before clearing.
They must ensure the battery has sufficient charge. Low voltage can corrupt data or interrupt the clearing process. If recent repairs were made, they should confirm those fixes work before erasing codes.
Executing the Code Clearing Process
They should connect the OBD2 scanner to the vehicle’s port and power it up. Follow the scanner prompts to read diagnostic trouble codes first; never skip this step. Reading codes gives the exact fault numbers and description needed for repair.
After reading and saving relevant codes, choose the scanner option to erase or clear codes. Many scanners show a confirmation prompt; they should accept only after they are sure repairs are complete or they intend to reset monitors. Wait for the scanner to report success; it usually displays a message such as “Codes cleared” or “Erase complete.”
If the check engine light is flashing, they must not clear codes. A flashing light indicates a severe fault like engine misfire, which risks catalytic converter damage. Instead, diagnose and repair the underlying issue before using the clear function.
Verifying Light Reset Success
They should turn off the ignition, unplug the scanner, then start the engine to confirm the light behavior. If the check engine light stays off, the clear likely worked and the issue is resolved or pending re-check by the ECU. If it returns immediately, the fault persists and needs repair.
They should perform a short drive cycle—city and highway driving totaling 10–20 miles—so the vehicle’s monitors can run self-checks. Use the scanner to re-scan for codes after the drive. If monitors show “Not Ready,” allow more driving or run specific test conditions specified by the vehicle manufacturer.
If the light reappears or codes return, they should record the new codes and pursue targeted diagnostics or professional repair.
Troubleshooting Persistent Issues
If the check engine light comes back after using an OBD2 scanner, the reader should verify the original repair, re-scan for codes, and follow a step-by-step plan to isolate recurring faults. Small fixes like a loose gas cap or bad sensor often reappear until fully resolved.
Possible Reasons for Light Returning
A code may clear but the underlying fault still exists. Common causes include a loose or cracked vacuum line, a failing oxygen sensor, intermittent mass airflow sensor faults, or an EVAP system leak such as a damaged gas cap. Electrical issues like corroded connectors or broken wires can create intermittent codes that return only under certain driving conditions.
Some problems only show during a specific drive cycle. For example, catalytic converter efficiency or EVAP system leaks may need highway speeds or certain engine temperatures to trigger the code again. Software or calibration updates in the vehicle computer can also change how codes appear.
Use the scanner to note pending or freeze-frame data. That data shows conditions when the fault occurred and helps pinpoint the cause.
Next Steps After Failed Reset
Start by re-reading active and pending codes immediately after the light returns. Record exact code numbers, freeze-frame values (RPM, temp, vehicle speed), and the scanner’s readiness monitors to narrow the fault window.
Inspect likely parts related to the code: check gas cap threads for damage, inspect vacuum hoses for cracks, test sensor wiring for continuity, and look for vacuum leaks with a smoke test if available. Replace inexpensive, likely parts first (gas cap, MAF sensor cleaning) before swapping costly items.
If the problem persists, consult repair manuals or an online-specific forum for the vehicle make and model. A professional diagnostic with advanced tools—scope, live-data logging, or pressure tests—may be necessary when intermittent electrical faults or internal engine issues cause recurring codes.
FAQs
| Question | Answer |
|---|---|
| What does an OBD2 scanner do? | It reads trouble codes from the car’s computer and can clear stored codes. It shows pending and confirmed faults so a user knows what to fix. |
| Will clearing the light fix the problem? | No. Clearing only removes the warning. The underlying issue must be repaired or the light will return. |
| Is it safe to clear codes myself? | Yes, if the user understands codes and follows safety steps like parking and turning off the ignition. If unsure, a mechanic should help. |
| Can clearing codes affect emissions testing? | Sometimes. If the vehicle’s readiness monitors reset, it may fail an emissions test until the system completes a drive cycle. |
| How long until the light stays off after a fix? | Often the light turns off after a few successful drive cycles. It may need several starts and normal driving to confirm the fix. |
They should keep a record of codes before clearing them. This helps if the problem returns or a mechanic must diagnose further.
They should use a basic scanner for code reads and clears. Advanced diagnostics may require a professional tool.
Conclusion
Clearing a check engine light with an OBD2 scanner gives the driver control over simple diagnostics and resets. It lets them read codes, erase them after a fix, and confirm whether an issue truly persists.
The tool does not fix mechanical problems. If codes return or the light flashes, the driver should seek professional repair to prevent damage and ensure safety.
Using a scanner can save time and money for routine issues like loose gas caps or cleared false codes. It also helps the driver provide accurate information to a mechanic when needed.
Keep these quick tips in mind:
- Read and record codes before erasing them.
- Fix the root cause first, then clear the codes.
- If the light returns, get a professional diagnosis.
A basic OBD2 scanner and a careful approach make the process straightforward and reliable. They enable drivers to act confidently while knowing when to consult a technician.